Vortex Trend Matrix [JOAT]Vortex Trend Matrix - Multi-Factor Trend Confluence System
Introduction and Purpose
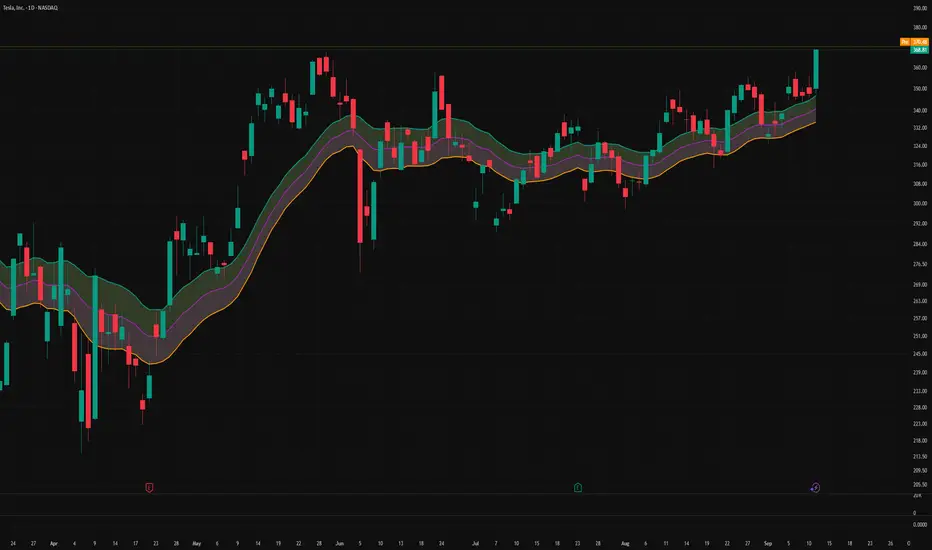
Vortex Trend Matrix is an open-source overlay indicator that combines Ichimoku-style equilibrium analysis with the Vortex Indicator to create a comprehensive trend confluence system. The core problem this indicator solves is that single trend indicators often give conflicting signals. Price might be above a moving average but momentum might be weakening.
This indicator addresses that by combining five different trend factors into a single composite score, making it easy to identify when multiple factors align for high-probability trend trades.
Why These Components Work Together
Each component measures trend from a different perspective:
1. Cloud Position - Price above/below the equilibrium cloud indicates overall trend bias. The cloud acts as dynamic support/resistance.
2. TK Relationship - Conversion line vs Base line (like Tenkan/Kijun in Ichimoku). Conversion above Base = bullish momentum.
3. Lagging Span - Current price compared to price N bars ago. Confirms whether current move has follow-through.
4. Vortex Indicator - VI+ vs VI- measures directional movement strength. Provides momentum confirmation.
5. Base Direction - Whether the base line is rising or falling. Indicates medium-term trend direction.
How the Trend Score Works
float trendScore = 0.0
// Cloud position (+2/-2)
trendScore += aboveCloud ? 2.0 : belowCloud ? -2.0 : 0.0
// TK relationship (+1/-1)
trendScore += conversionLine > baseLine ? 1.0 : conversionLine < baseLine ? -1.0 : 0.0
// Lagging span (+1/-1)
trendScore += laggingBull ? 1.0 : laggingBear ? -1.0 : 0.0
// Vortex (+1.5/-1.5)
trendScore += vortexBull ? 1.5 : vortexBear ? -1.5 : 0.0
// Base direction (+0.5/-0.5)
trendScore += baseDirection * 0.5
Score ranges from approximately -6 to +6:
- +4 or higher = STRONG BULL
- +2 to +4 = BULL
- -2 to +2 = NEUTRAL
- -4 to -2 = BEAR
- -4 or lower = STRONG BEAR
Signal Types
TK Cross Up/Down - Conversion line crosses Base line (momentum shift)
Base Direction Change - Base line changes direction (medium-term shift)
Strong Bull/Bear Trend - Score reaches +4/-4 (high confluence)
Dashboard Information
Trend - Overall status with composite score
Cloud - Price position (ABOVE/BELOW/INSIDE)
TK Cross - Conversion vs Base relationship
Lagging - Lagging span bias
Vortex - VI+/VI- relationship
VI+/VI- - Individual vortex values
How to Use This Indicator
For Trend Following:
1. Enter long when trend score reaches +4 or higher (STRONG BULL)
2. Enter short when trend score reaches -4 or lower (STRONG BEAR)
3. Use cloud as dynamic support/resistance for entries
For Momentum Timing:
1. Watch for TK Cross signals for entry timing
2. Base direction changes indicate medium-term shifts
3. Vortex confirmation adds conviction
For Risk Management:
1. Exit when trend score drops to neutral
2. Use cloud edges as stop-loss references
3. Reduce position when score weakens
Input Parameters
Conversion Period (9) - Fast equilibrium line
Base Period (26) - Slow equilibrium line
Lead Span Period (52) - Cloud projection period
Displacement (26) - Cloud and lagging span offset
Vortex Period (14) - Period for vortex calculation
VI+ Strength (1.10) - Threshold for strong bullish vortex
VI- Strength (0.90) - Threshold for strong bearish vortex
Timeframe Recommendations
4H-Daily: Best for equilibrium-based analysis
1H: Good for intraday trend following
Lower timeframes may require adjusted periods
Limitations
Equilibrium calculations have inherent lag
Cloud displacement means signals are delayed
Works best in trending markets
May whipsaw in ranging conditions
Open-Source and Disclaimer
This script is published as open-source under the Mozilla Public License 2.0 for educational purposes.
This indicator does not constitute financial advice. Trend analysis does not guarantee profitable trades. Always use proper risk management.
- Made with passion by officialjackofalltrades
Pine Script® göstergesi